A recent study published in the Annals of Internal Medicine reveals that those long sitting periods may lead to early death regardless of how much exercise an individual does. Scary, right? Other Scientists also established that people who sit for long hours are at a higher risk of diabetes, stroke, high cholesterol, heart diseases, and high blood pressure.
The largest population of working force in the developed world uses computers; this translates to long sitting hours. Doctors advise about 30 minutes break in between work to allow blood flow. With strict deadlines, this may be impossible. Standing desks offer a healthy option. There are many types and designs to choose from, depending on individual needs.
Apart from critical health reasons, these stand up work surfaces come with numerous advantages.
Flexibility spices up working when assignments get boring. Stand up desks are an exciting way to break the monotony that comes with working on similar projects repeatedly. The counters allow flexible working positions. A desk with wheels also provides the freedom of choosing which spot to work for the day. It is more of a mobile office which works perfectly for a home office. You can always change the position or arrangement to give your space a fresh look.
Most of the desks are accommodating. Since people differ in height, standard tables with the same length may not work for everyone. The available options make it easy to work in your most convenient position while standing. Some are 2-in-1 making it possible to use when both standing and sitting position.
Standingdesktopper's pick
Types of standing DIY tables
Everyone loves to save some bucks. The cost of a fully assembled stand sit desk is steep. You can consider simple ways to have a DIY one on a budget.
Adjustable-height or sit-stand desk.
As much as you need to stand while working, there are times that your feet feel like giving in and you would wish to sit for a while as you continue working. Sit and stand desk is a genius idea that enables you to work sitting or standing. It is adjustable hence works for all whether tall, short or medium height.
There are two concepts in this option.
Concept 1
This design mimics an elevator where a desktop is attached to a counterweight at the back. Both the counterweight and desktop move either up or down. Drawer slides on the inward sides of the desk act as guiding rails. When using this desk, the computer stays put, but you have the option to raise the working surface to your desired level.
The first step is to figure out the desired dimensions of the desk. A rule of the thumb is to ensure your keyboard is at the same level with the end of your elbows. A tape measure will help you get accurate measurements. Note your preferred position while sitting and standing. When sourcing for the materials get the store to cut the correct sizes (some stores may charge extra) so that all you have to do is drill and assemble. With this design you cannot store anything under the desk as the parts down there are moving parts.
Keep the stands as high as your standing height preference. Ensure you are comfortable to work when standing and sitting.
The second step is to get the flat surfaces of the desk. Using your measurements, source for the top part of the desk, backstop for desk, top of monitor pedestal, front, back, sides, and bottom of counterweight box, and one to create storage on the desktop.
The third step is to have cuts of the frame. You may have them cut as per your desired size purchase. You will need uprights for the frame; horizontal legs support legs for the frame; sliding legs for desktop, and horizontal support for the framework.
The fourth step involves assembling the counterweight box. Since it will be behind the nook for the desk, it does not have to be perfect.
In the fifth step, assemble the frame. Remember the horizontal support legs that give the desk maximum stability. Keep the middle support higher than your kneecaps but keep it low enough to be hidden by the desktop when in sitting position for aesthetic reasons. Since the junction between the uprights and horizontal support base is susceptible to damage, put a T-brace. The T-brace adds extra reinforcement. For added strength, you can put one on each side of the legs
In step six, assemble the desktop. Trace where the pedestal sides sit on the desktop and drill guide holes to connect the monitor pedestal.
Step seven, attach the slider on the inside of the legs. The legs attach to the drawer slides and guide the desktop. Make the slider legs to rest on the horizontal support legs when the desk is in a sitting position. When in standing position, the parallel legs support the counter box preventing it from going down further.
Ensure the drawer slides glide with ease for a smooth working experience. Attach shelf brackets to hold the desktop. If you love extras, then you can settle for a decorative one instead of plain.
Attach the counterweight as step eight. You can use a cradle to accommodate the extra weight of the counter box.
In step nine, remove the desktop’s backstop and screw the desktop on the slider legs. Rest the desktop on the slider legs and trace the outline of the slider legs under the desktop. Measure the location that you want screw holes to go and duplicate on the surface of the desktop. Replace the desktop on top of the slider legs and drill guide holes that allow you to bolt it together.
Step 10: Attach the hardware for the pulley system. Two pulleys can work, but two on each side (four in total) are better for even weight distribution. Hitching rings work well too here instead of the pulleys. The downside to using the hitch rings is more friction and noise. Place the eyelets for the paracord cable to connect the desktop to the counterweight.
Step 11 is the final stage for the finishes. Make holes on the desktop for power cords and ensure the cables are long enough to work when standing. Keep the wires away from the slides to give room for the movements of the desktop and counter box. You can finally paint and use the desk.
Concept 2
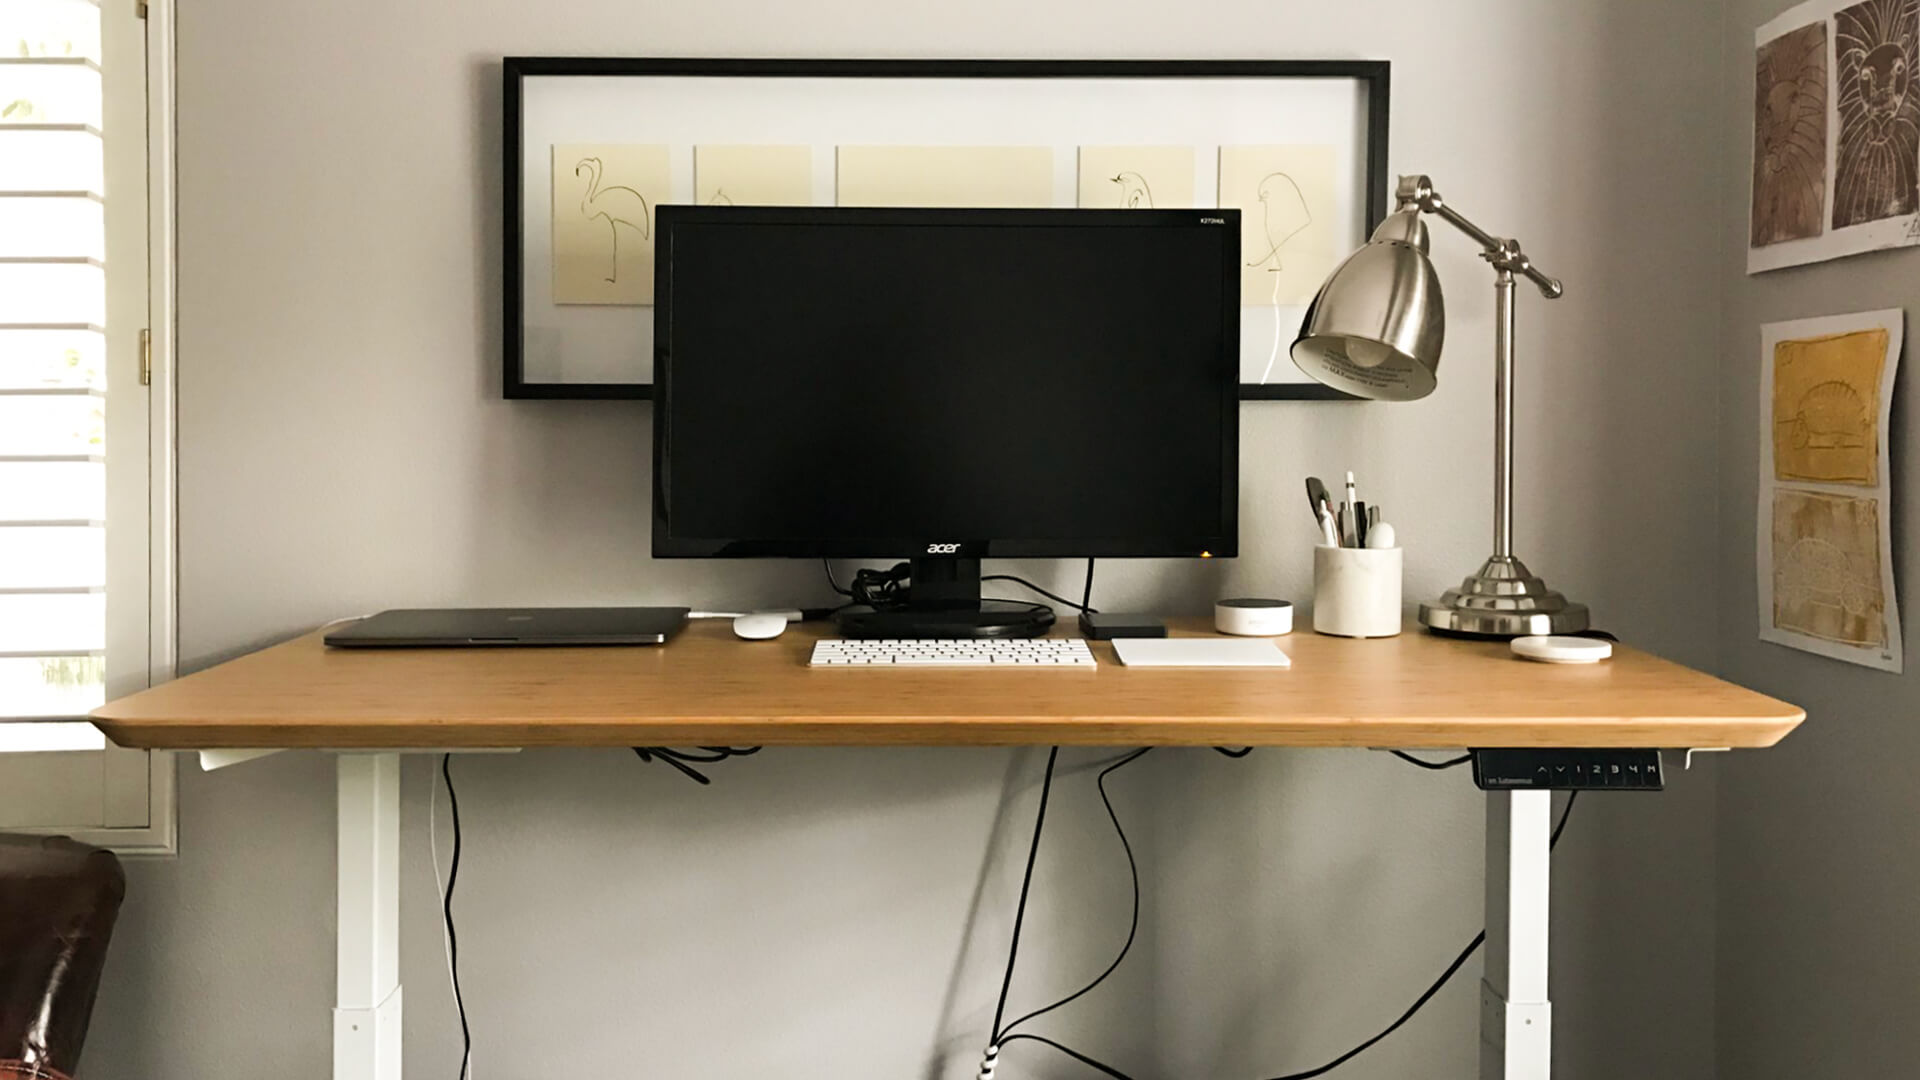
The second concept is a desk similar to the first one. It is simpler and slightly different in functionality. The legs of these desks are made to adjust and raise the whole working surface as you work standing. This sit-stand desk comes in different styles depending on your taste and style.
SmartDesk DIY Kit offers an easy option with minimal work to create a perfect smart desk that suits your personality. You get a sturdy steel frame that is powder-coated in either dual-motor (Business Edition) or single-motor (Home edition). It comes without a desktop offering the user a perfect provision for the user to get what they like. You can, therefore, attaché the digital keypad as per your convenient height customization.
The business edition frame can support up to 300 pounds and has an extension provision of 47 to 80 inches. Its potential is limitless. Home edition SmartDesk supports slightly less than the Business Edition, but stronger than most desks. On the cost, SmartDesk DIY is a money-saver as you can even use an old desktop on the legs and get a new working station. The desk itself is low cost and robust. You can swiftly move the desktop up and down fast.
If you easily get bored with things, this works great. You can change the desktop after a while. Whether you are changing your home or office theme, or just keeping up with the trend, you will not be stuck with a desk wishing it away. Twist your look by using different colored desktops if you are adventurous.
Extensions desk
With your regular sitting desk or surface, you can easily make a standing desk whether temporal or permanent. Again, this is another low cost and quick way to get a stand-up desk.
Here, get your standard desk. Old tables that are no longer in use come in handy as well. Get pieces of wood and make a small desktop. You can use pieces of wood, plastic, or metal to suspend the smaller desktop on the larger one. In this case, the smaller desktop needs to be the same color or texture as the big desk or table for uniformity. The finished product should appear as one unit.
Another way of getting a standing desk is by placing a stool or smaller table on top of another. This is temporal and may not offer a sturdy working surface. If the surfaces or tables are not in use, consider fastening the pieces permanently together. You can reinforce the joints to make the work surface stronger. Like in the first case, if the stools and tables are different, sand and paint them to create a single unit. You can add extensions and small storage as per your needs and availability of materials. Customize according to your needs.
Hanging or shelf desks
With small spaces, adding any furniture is a bad idea. Floating or shelf desks are worth considering if you are struggling with space.
Get old wood boxes, box lids or wooden crates. Use strong metal bars and attach the desk on the wall. Suspend your desired working surface on the end of the box or wooden crate. Use strings or metal rods to join to the wall.
While these DIY floating shelves are fantastic space savers, they are not very strong. To be on the safe side, do not overload the desks.
If you love to keep it simple, consider this second option. Drill holes and fasten brackets on the wall. Get a board with your desired measurements and attach on the brackets. You will get a very practical surface to use while standing. Add a few more shelves for storage if you wish.
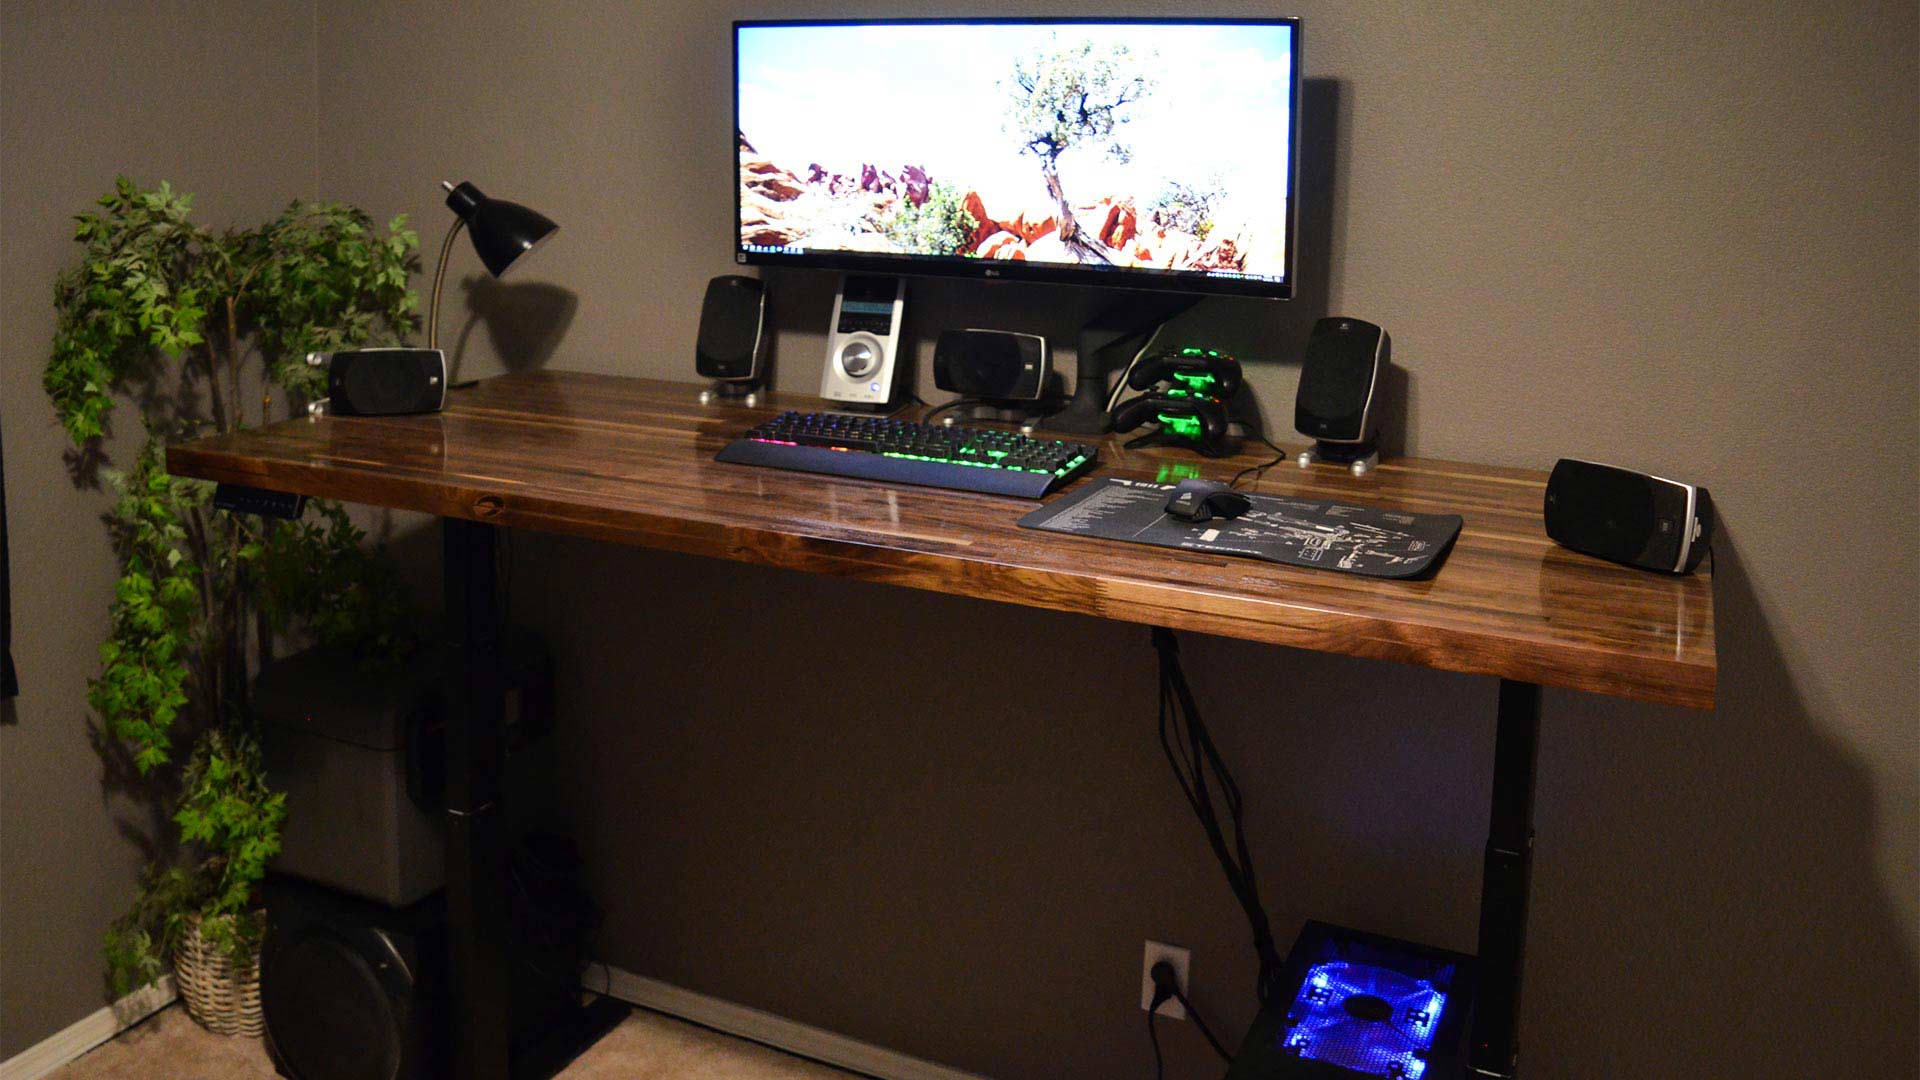
Long desks
Long desks are simple and meant for standing. They are not as sophisticated as the types discussed above as they will only be used when standing.
Again, depending on your preferred style and size, get all the materials needed. You can either use metal or wooden table stands. Make a metal frame to support the desktop. To make your work easier, have the supplier cut them according to your needs at the point of purchase. Join the different pieces together to form a solid frame. You can reinforce the structure on the joints.
Purchase a desktop and have it cut to your measurements. Make a provision for the cables. Drill the desktop to attach it on the frame. You can paint the final product with your choice. Tweak the table as per your desires and needs. Additional shelves can create more storage space.
Adjustable height desks are becoming extremely popular. You can custom make any of these to your desired taste. They are stylish. Today, remote jobs are common and individuals tend to work for longer to increase the income flow. While financial stamina is great, it is not worth anyone’s life. With some few materials and adequate research, you can custom make a standing table that meets your specific needs.
Working on your feet also boosts productivity as the blood flows freely in all parts of your body, and most important to the brain. Since you are more alert, you are bound to deliver more compared to when you sit for long. The beauty is that you do not have to stick to one working position, either sitting or standing. Adjustable smart desks allow you to switch to different positions as you continue working. Again, you do not need to dig so deep into your pockets. The above DIYs offer insight into how you can save on prohibitive costs of purchasing ready-made workstations.
")


")
